Homemade Peanut Butter Cups Classic
Highlighted under: Oven Fresh Creations
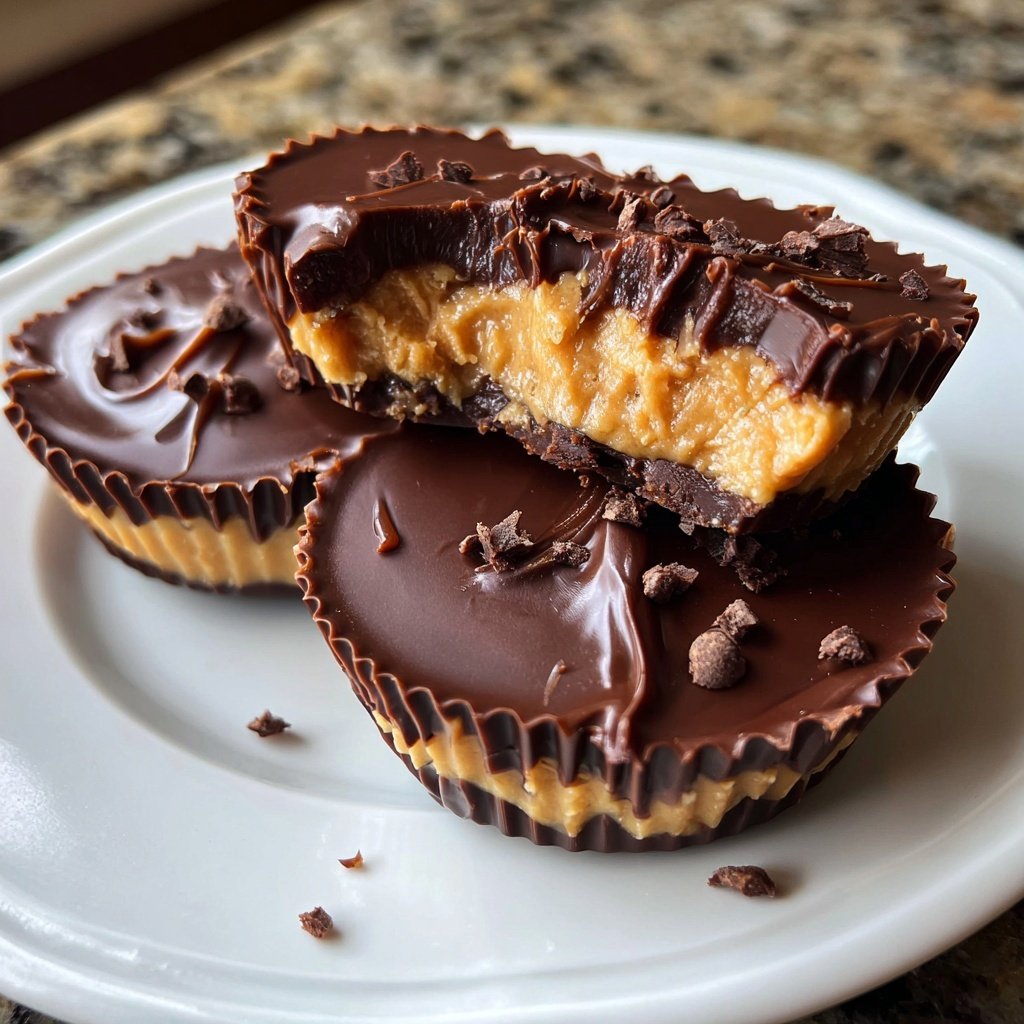
I’ve always been a fan of those rich, creamy peanut butter cups, and making them at home has become one of my favorite indulgences. The process is surprisingly simple, yet yields a quality treat that surpasses anything store-bought. I love experimenting with the chocolate-to-peanut butter ratio to suit my taste, and I often sprinkle a pinch of sea salt on top for that perfect balance of sweet and savory. Trust me, once you try these, you’ll never want the packaged ones again!
When I first tried making peanut butter cups at home, I was amazed by how straightforward the process was. I mixed creamy peanut butter with a touch of powdered sugar and melted chocolate, and just like that, I had transformed my kitchen into a candy-making haven. Playing with different types of chocolate, like dark or milk, also allowed me to customize the flavors to match my cravings perfectly.
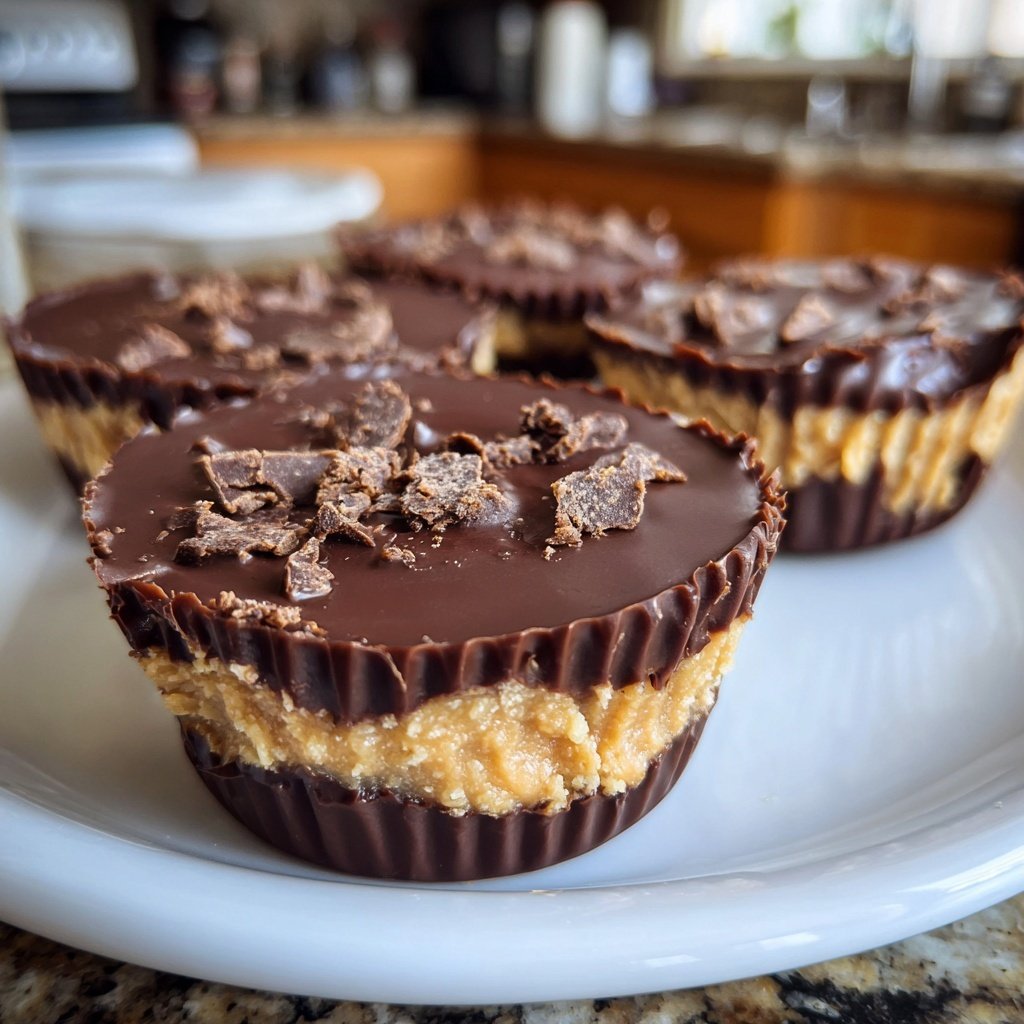
One tip I’ve learned is to use silicone muffin liners. They make demolding the cups a breeze, ensuring that every single one comes out perfectly formed. The combination of textures from the crunchy chocolate shell and smooth, rich peanut butter filling is simply irresistible!
Why You'll Love This Recipe
- Decadent peanut butter filling that satisfies any craving
- Rich chocolate coating that's both sweet and slightly bitter
- Easily customizable with different types of chocolate and added toppings
Perfecting the Peanut Butter Filling
The peanut butter filling is truly the star of this recipe, and achieving the right consistency is crucial. Use smooth, creamy peanut butter for the best texture; if you prefer a bit of crunch, consider adding a tablespoon of chopped peanuts. When mixing the peanut butter with powdered sugar, the goal is to create a thick yet pliable filling that holds its shape well. If you find the mixture too thick, add a teaspoon of coconut oil to soften it slightly without compromising flavor.
Vanilla extract adds a subtle depth to the peanut butter filling, balancing out the sweetness of the powdered sugar. Feel free to experiment with flavored extracts, such as almond or maple, for a unique twist. Just keep in mind that a little goes a long way; start with half a teaspoon and adjust to your taste. Additionally, if you're using natural peanut butter, you might need to adjust the amount of powdered sugar slightly, as it can be less sweet than its commercial counterpart.
Chocolaty Coating Techniques
Melting the chocolate needs careful attention. Make sure to use a microwave-safe bowl and heat the chocolate in 30-second intervals, stirring in between to prevent it from burning. The chocolate is ready when it looks glossy and smooth, without any lumps. If your chocolate seizes up during melting, adding a tiny bit of coconut oil can help bring it back to life. Ensure that your bowl and utensils are completely dry, as any moisture can lead to a grainy texture.
For a different flavor profile, consider using a mix of dark and milk chocolate. Dark chocolate can add a bittersweet note that complements the sweetness of the peanut butter filling beautifully. If you're looking for a dairy-free option, use vegan chocolate chips, and substitute coconut oil with a neutral oil like canola. Whichever chocolate you choose, make sure to work swiftly when assembling the cups, as chocolate tends to harden relatively fast when exposed to cooler air.
Storage and Serving Suggestions
Once you've chilled and removed your homemade peanut butter cups from the muffin tin, store them in an airtight container. They can last in the refrigerator for up to two weeks, though I doubt they’ll last that long! If you want to store them longer, consider freezing them. Simply place them in a single layer in a freezer-safe container, separating layers with parchment paper. When ready to enjoy, let them sit at room temperature for about 10 minutes to soften slightly before eating.
These peanut butter cups make for an impressive homemade gift. Consider packaging them in decorative boxes or mason jars, adding a ribbon for a personal touch. They can also be a delightful addition to dessert platters or parties. For a fun variation, try drizzling melted chocolate or caramel on top just before chilling for a more decadent treat. You can even experiment with different nut butters, like almond or cashew, to find your personal favorite!
Ingredients
Gather these simple ingredients to create your own fantastic peanut butter cups!
Ingredients for Peanut Butter Cups
- 1 cup creamy peanut butter
- 1/2 cup powdered sugar
- 1 teaspoon vanilla extract
- 1 cup chocolate chips (milk or dark)
- 1/4 cup coconut oil (optional for smoother chocolate)
- Pinch of sea salt (optional)
Make sure you have everything ready before you start to ensure smooth preparation.
Instructions
Follow these steps to create your homemade peanut butter cups.
Prepare the Peanut Butter Filling
In a mixing bowl, combine the creamy peanut butter, powdered sugar, vanilla extract, and a pinch of salt. Stir until smooth and set it aside.
Melt the Chocolate
Using a microwave-safe bowl, melt the chocolate chips and coconut oil together in 30-second intervals, stirring until fully melted and smooth.
Assemble the Cups
Line a muffin tin with silicone liners. Pour a thin layer of melted chocolate into each cup, then add a spoonful of the peanut butter mixture on top. Finally, cover the peanut butter with more melted chocolate until fully enclosed.
Chill and Set
Refrigerate the cups for about 20 minutes or until the chocolate hardens completely. Once set, carefully remove the cups from the liners.
Enjoy your delicious homemade peanut butter cups!
Pro Tips
- Experiment with adding crushed pretzels or toppings like sea salt on the chocolate for added crunch and flavor.
Ingredient Spotlight: Coconut Oil
Coconut oil plays a vital role in achieving a silky chocolate coating. It helps to create a smoother melt and can reduce the chance of the chocolate blooming, which happens when the sugar crystals come to the surface due to improper storage or tempering. If you're not a fan of coconut oil, you can substitute it with vegetable shortening or leave it out entirely; however, the texture may be slightly less creamy without it.
In addition to its functional benefits, coconut oil imparts a subtle flavor that can enhance the overall sweetness of your peanut butter cups. If you prefer, you can experiment with flavored oils, like hazelnut, to add another layer of complexity to your treats without altering the main ingredients.
Troubleshooting Tips
If your chocolate layer cracks when you bite into your peanut butter cup, it may be too thick. To avoid this, aim for thin layers of chocolate in each cup, ensuring they don’t overshadow the peanut butter filling. If you notice your filling is too runny, adding a bit more powdered sugar can help thicken it until it reaches the desired consistency.
Another common issue is a sticky or difficult-to-remove peanut butter cup from the liners. To prevent this, ensure that your chocolate layer is fully set before adding the filling and then topping with more chocolate. If you still encounter sticking, refrigerating the cups for a few additional minutes after assembling them can help them release more easily from the liners.
Serving Variations
For a fun and festive twist, consider adding toppings to your peanut butter cups before chilling. Mini chocolate chips, crushed pretzels, or even a sprinkle of chopped sea salt can provide delightful contrasts in texture and flavor. If you're feeling adventurous, try incorporating a layer of flavored ganache between the peanut butter and chocolate layers, like a coffee-infused chocolate for an adult variation.
If you enjoy pairing flavors, serve these peanut butter cups alongside fresh strawberries or banana slices for a delightful dessert platter. The freshness of the fruit balances the richness of the cups, creating a well-rounded treat that’s sure to be a crowd-pleaser!
Questions About Recipes
→ Can I use crunchy peanut butter instead?
Yes, crunchy peanut butter will give your cups a delightful texture!
→ How long will these peanut butter cups keep?
They can be stored in an airtight container in the refrigerator for up to two weeks.
→ Can I make these vegan?
Absolutely! Use dairy-free chocolate chips and ensure your powdered sugar is vegan.
→ What can I do with leftover chocolate?
You can drizzle it over fruits, popcorn, or use it for other baking recipes.
Homemade Peanut Butter Cups Classic
Created by: Gwendolyn Reed
Recipe Type: Oven Fresh Creations
Skill Level: Beginner
Final Quantity: 12 cups
What You'll Need
Ingredients for Peanut Butter Cups
- 1 cup creamy peanut butter
- 1/2 cup powdered sugar
- 1 teaspoon vanilla extract
- 1 cup chocolate chips (milk or dark)
- 1/4 cup coconut oil (optional for smoother chocolate)
- Pinch of sea salt (optional)
How-To Steps
In a mixing bowl, combine the creamy peanut butter, powdered sugar, vanilla extract, and a pinch of salt. Stir until smooth and set it aside.
Using a microwave-safe bowl, melt the chocolate chips and coconut oil together in 30-second intervals, stirring until fully melted and smooth.
Line a muffin tin with silicone liners. Pour a thin layer of melted chocolate into each cup, then add a spoonful of the peanut butter mixture on top. Finally, cover the peanut butter with more melted chocolate until fully enclosed.
Refrigerate the cups for about 20 minutes or until the chocolate hardens completely. Once set, carefully remove the cups from the liners.
Extra Tips
- Experiment with adding crushed pretzels or toppings like sea salt on the chocolate for added crunch and flavor.
Nutritional Breakdown (Per Serving)
- Calories: 250 kcal
- Total Fat: 18g
- Saturated Fat: 6g
- Cholesterol: 0mg
- Sodium: 75mg
- Total Carbohydrates: 22g
- Dietary Fiber: 2g
- Sugars: 15g
- Protein: 5g